Productos
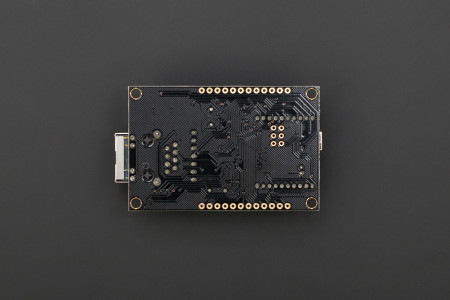
XBoard V2 -A Bridge Between Home And Internet (Arduino Compatible)
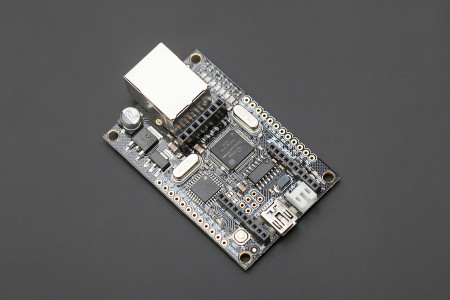
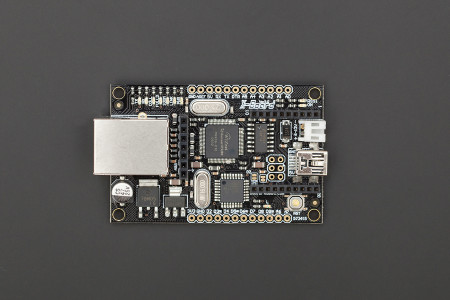
Versión mejorada de la Xboard, compatible con Arduino. Posee I/O digitales y analógicas (ATMega328), socket wireless XBee, e interfaz Ethernet, además de conector micro Usb. La principal mejora se encuentra en la posibilidad de poder ser alimentado con 5v, a diferencia de su predecesora, haciéndola de esta manera compatible con la mayoría de los sensores existentes, sin necesidad de conversores TTL. Posee interfaz I2C. Apropiado para proyectos de IOT.
COD: DFR0162
Peso: 0.040 Kg
Disponibilidad: En Stock
ARS 54885.00
El producto no está disponible para la venta en este momento
Características
INTRODUCTION:
This is Version 2.0 of the Xboard. The main improvement is that it now operates at 5V, making it compatible with most sensors and I2C protocol without the need of a voltage level converter.
SPECIFICATION:
- MCU:Atmega328P low voltage version (16Mhz)
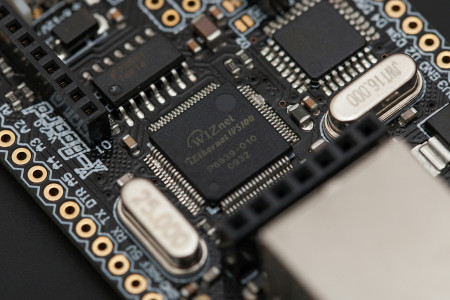
- Ethernet:WIZ5100
- Arduino Uno bootloader
- Supply voltage:5~12v
- Output voltage:5v/3.3v
- Digital IO: 8
- Analog In: 8
- Envionment Friendly: Rohs Compliance
- PWR: indicates that the board and shield are powered.
- LINK: indicates the presence of a network link and flashes when the shield transmits or receives data.
- FULLD: indicates that the network connection is full duplex.
- 100M: indicates the presence of a 100 Mb/s network connection (as opposed to 10 Mb/s).
- RX: flashes when the shield receives data.
- TX: flashes when the shield sends data.
- COLL: flashes when network collisions are detected.
OPTIONAL PARTS:
- Xbee Module 1mw (TEL0014)
- XBee 2mW Wire Antenna - Series 2(ZB) (TEL0020)
- Bluno bee - Support wireless programming (TEL0073)
- APC220 Radio Communication Module (TEL0005)
DOCUMENTS:
iOS Application:
PROJECTS:
Project 1. Using the Arduino Xboard to control a relay:
In this project you will find how to use the XBoard with xbee along with another arduino to control some objects over your local network.
Hardware needed:
- 1 Arduino
- 1 Xboard
- 1 FTDI programmer
- 1 Relay
- 1 CAT5 cable
- 1 pair of xbee modules
- 1 computer
- 1 Internet router
- hookup wire
Project 2. X-Board V2 and Pachube data on LCD:
This project reads feed data on Pachube and shows the data on an LCD. The project is quite simple. The following hardware was used:
-DFRobot X-Board v2 (DFR0162)
-DFRobot FTDI Basic Breakout (DFR0065) for uploading the sketch code to X-Board
-LCD2004 display
- DFRobot USB Power adapter (FIT0197)
-USB cable for power
-Ethernet cable to connect it to router/internet
Project 3. DFRobot AutoEco System takes care of your garden:
By following this project it will help to grow a vegetable garden, and automate some other processes in our house along the way.
List of basic hardware to setup an AutoEco Sys:
- 1. Romeo.
- 2. X-Board.
- 3. Light Sensor.
- 4 .Gas Sensor.
- 5 .Motion Sensor.
- 6. Tempreture&Humidity Sensor.
- 7. Waterproof temperature sensor.